
In Memento Database, you can import and export both the library structure and the whole amount of data associated with it. The first option helps creating new libraries easily if they are based on the previously created and exported ones. The second option helps filling the data automatically without the necessity to add the entries one by one.
Importing & exporting libraries
There are two available ways of how to export the Library. You can either Export it to the file or Share it with other Memento Database users. Exported file is stored on your mobile device and will help to create the similar Library if needed. Sharing helps building strong online catalog of templates that are available for all community of users.
To export Library to the file, go to Edit library screen, click burger menu at the top-right of the window and choose Export option there. Then choose the directory where the template will be stored and type its name. In addition, you can save filters associated with the Library to the file.
To share Library with the community, go to Edit library screen, click burger menu at the top-right of the window and choose Share option there. Then type the name of the Library, choose the category that corresponds best, define the language used for the field names and type the description with explicit information about how and why to use your Library.
To add the shared Library to your collection, follow the instructions about how to work with online catalog. To import the Library from file, go through steps described in Importing Libraries article.
Importing & exporting data
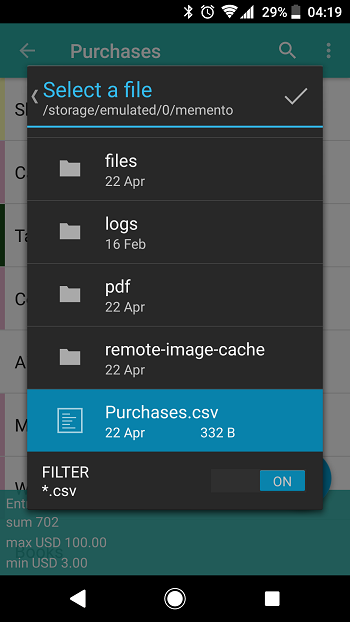
To import data, choose the Library, tap the burger menu at the top-right of the window, choose Import and export… submenu and tap Import from CSV option there. Find the file that matches the fields from the Library on your mobile device storage and tap the check mark.
Then adjust the following options:
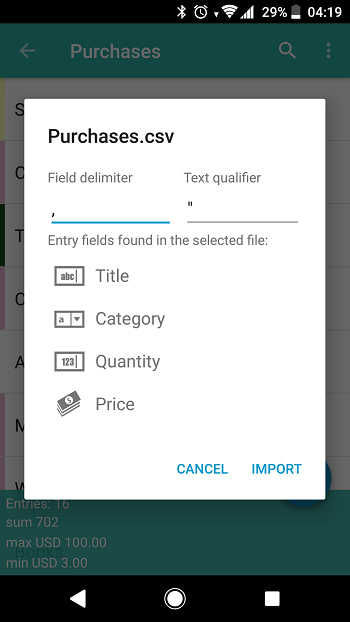
- Choose Field delimiter — a special symbol used to set the fields inside one entity apart
- Choose Text qualifier — a symbol that shows the start and the end of the text field
- Review the fields that were matched and will be imported
- Click Import to finish the process
Note that if your Library includes calculations, they will be filled automatically after the import even if they are not included into the source CSV file.
Reverse operation — exporting — will help you transfer data from the Library to other apps and formats. To turn entries to a CSV file, choose the Library, tap the burger menu at the top-right of the window, choose Import and export… submenu and tap Export to CSV option there. Then choose the directory where the file will be stored, type its name and click OK.
To learn about specific rules for certain field types, visit the wiki.