
The Websites feature in Memento Database allows you to aggregate various Web Pages and Web Forms into a single, unified portal. This transforms separate links into a professional web interface with integrated navigation and a consistent style, all hosted on your own subdomain.
1. Web Hub: The Control Center
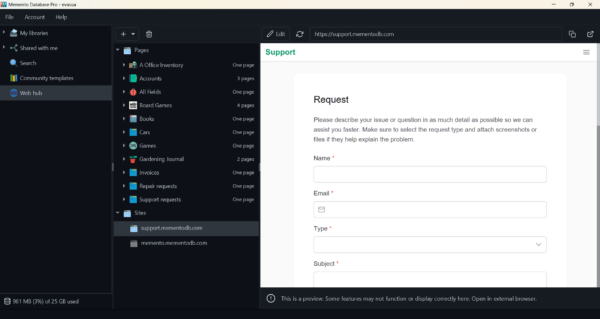
The Web Hub is the central management area for all your web-based resources.
- To access it, open the main left-hand menu (where your libraries are listed).
- Click on Web Hub. This dashboard displays all existing pages and sites associated with your account.
2. Creating a New Site
To start building your portal:
-
- In the Web Hub, click the “+” button and select Site.
- You will be prompted to register a unique subdomain (e.g., yourproject.mementodb.com). This URL serves as the primary entry point for your site.
- Once the subdomain is registered, the Site Configuration window will open.
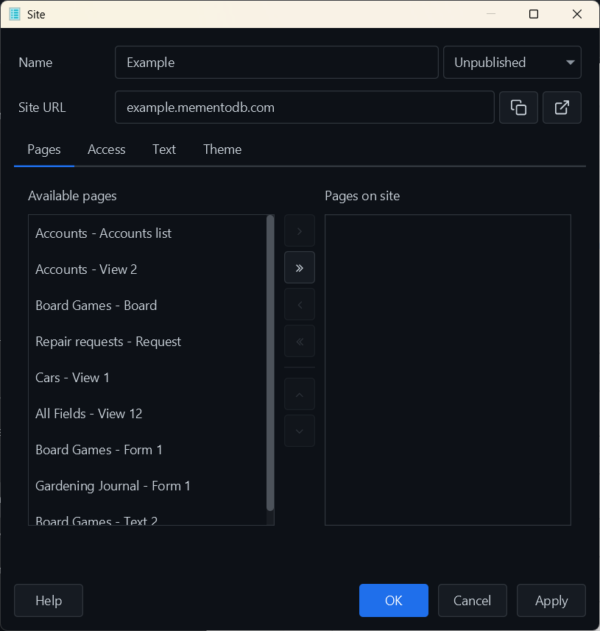
3. Selecting Content (Pages Tab)
This tab defines the structure and navigation of your site:
- The Available pages column on the left displays all your existing Data Views and Web Forms.
- Move the desired items to the Pages on site column on the right to include them in the site’s navigation menu.
- Visibility Note: You can add any page to your site at any time, regardless of its current status. However, a page will only be visible to your visitors if it is Published. You can publish or unpublish specific pages whenever you like to control content availability.
4. Configuring Access (Access Tab)
By default, the site inherits the access settings of each individual page. However, you can set global rules that take priority:
- Public: The site is accessible to anyone with the link.
- Password: Access is granted only after entering a designated password.
- Specific Users: Access is restricted to selected users from your account.
Attention: If you set the site to Public, all included pages will automatically become public as well, overriding their individual privacy settings.
5. Visual Branding (Theme Tab)
You can customize the visual identity of your portal:
- Toggle between Light and Dark themes.
- Adjust Primary colors and the Site background.
- Style Priority: These settings will override the theme settings of individual pages, provided those pages are set to use “Default” styling.
6. Publishing the Site
To make your site live:
- Use the status dropdown at the top of the configuration window.
- Change the status from Unpublished to Published.
Your site is now live at your chosen subdomain, providing a streamlined and navigable interface for all your data tools in one place.